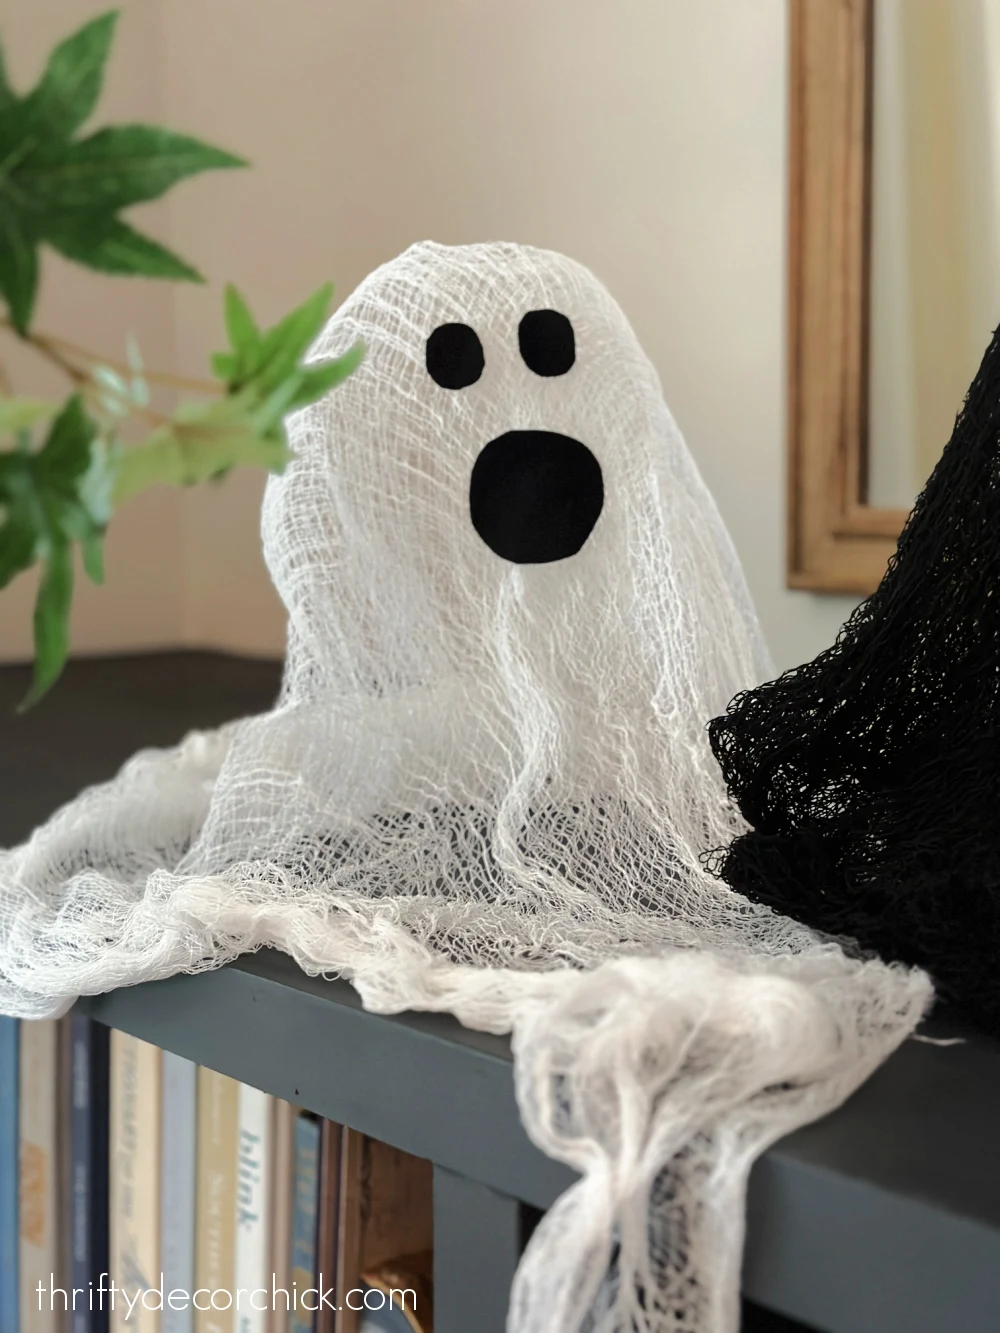
How to make cute DIY cheesecloth ghosts for the Halloween season.
This is SUCH an easy Halloween project for kids (and adults!) of all ages. I
love this cheesecloth ghosts craft!
I’ve made these so many times over the years and they always turn out so cute.
No two are exactly alike!
easy Halloween craft to do with the kids! 🙂
This fall craft is perfect to do with kids outside.
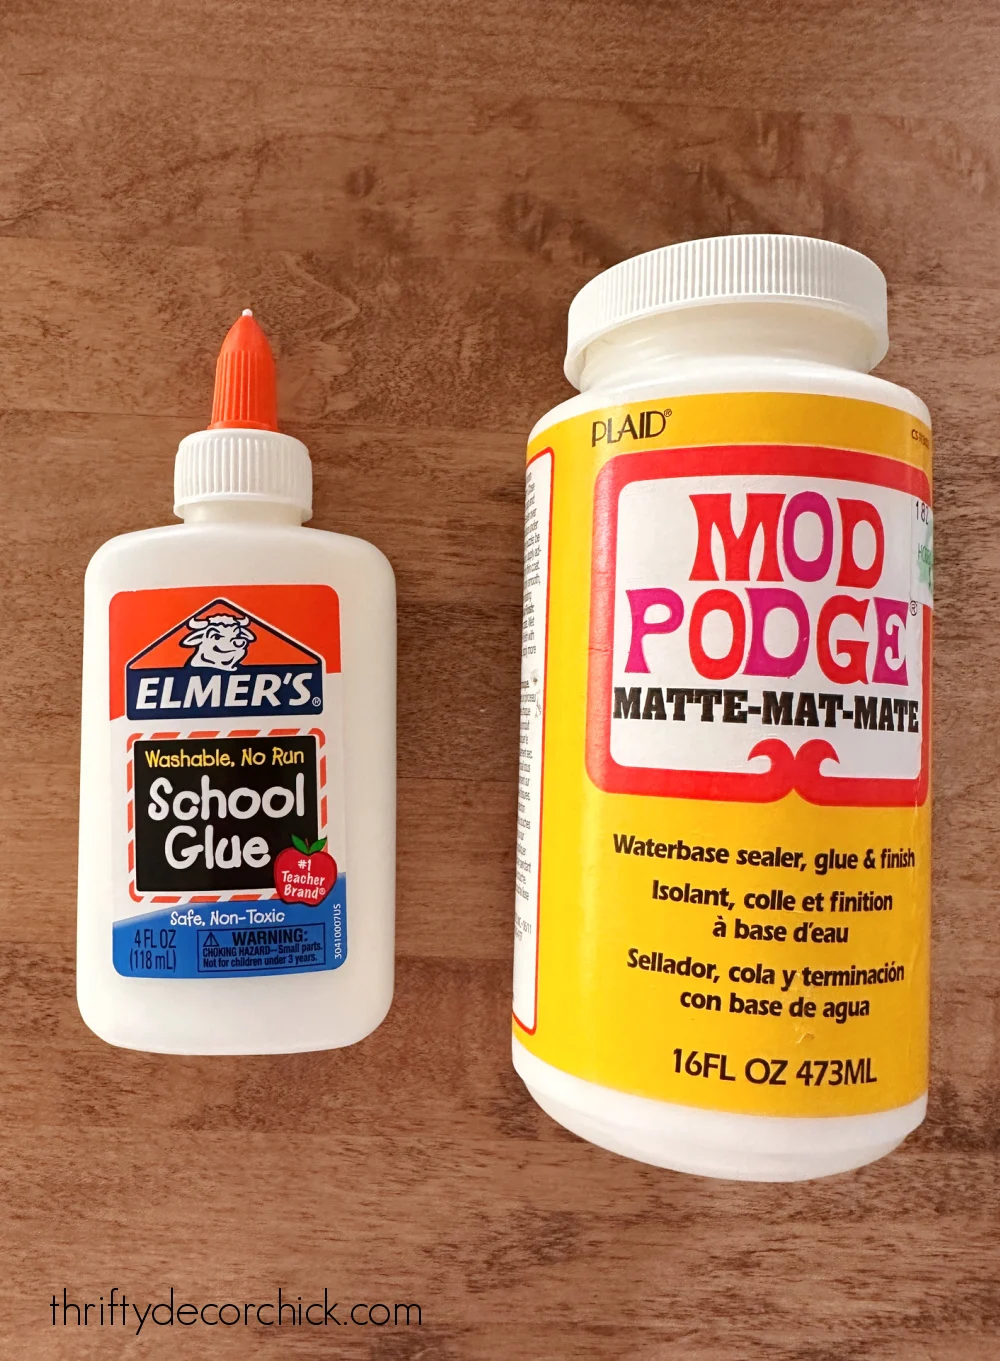
The basic ingredients for these fabric ghosts are glue and warm water.
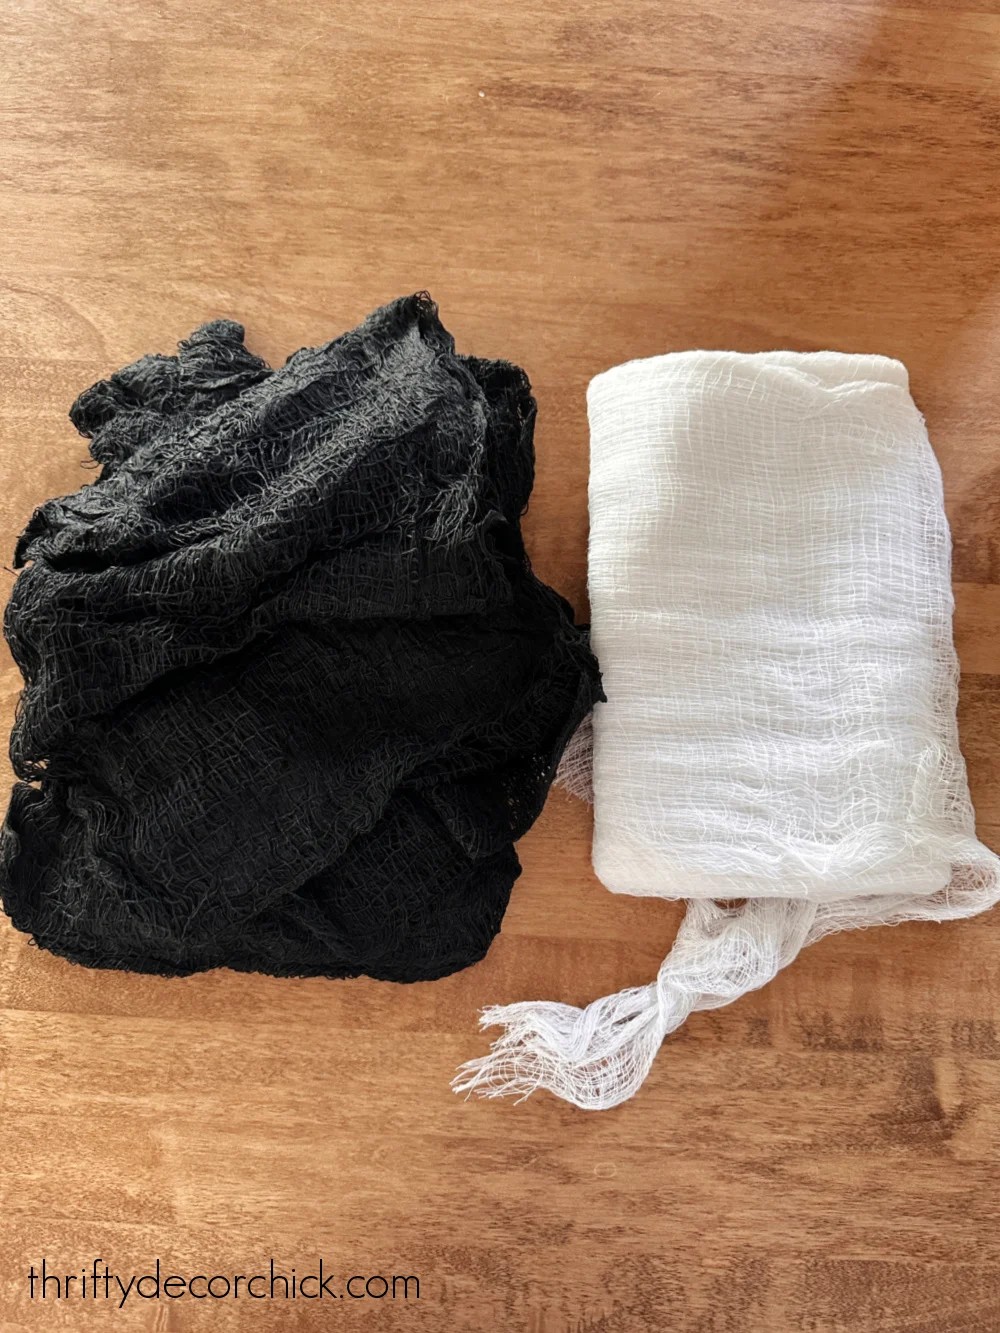
You’ll want balloons or some other form for the ghosts and felt or a black
marker for the faces:
This post may contain affiliate links for
your convenience.
I may earn a small commission when you make a purchase through links.
How to make cute cheesecloth ghosts:
-
Blow up a few balloons in various sizes (for big to smaller ghosts). You
can also use items around your home to create your ghosts. (More on that
in a bit.) - Mix equal parts warm water and glue in a bowl.
-
Soak the pieces of cheesecloth (cut up to the sizes you want) in the
glue mixture, then drape them over the balloons. -
Leave about a day until they are very hard. Then you can pop the
balloons and peel them off, or just remove the cloth from whatever you
used for your form. -
I used black and white felt to make the faces. (But paper would work
just fine!)
I wanted to make bigger ghosts this year, so I grabbed all kinds of
bottles and bowls from the kitchen to use. I stacked up a set of mixing
bowls for this one:
I used two layers of cheesecloth and placed it on top first to make sure
it would drape down to the bottom.
You can also use mason jars or styrofoam balls in different sizes. (The
glue will wash off of plastic or metal with warm, soapy water afterwards.)
If you’re making smaller ghosts, you’ll want to dunk your whole
cheesecloth into the mixture and then squeeze out any excess (this is the
messy part, but gloves would help!):
For the larger ones, I opted to keep the bottom flowy, so I didn’t
saturate the whole cheesecloth:
I put out some old towels and drop cloths and set them on top, draped over
their “forms” to dry overnight:
The thinner your fabric, the quicker they will dry. Don’t worry if they
stick a bit, you’ll be able to manipulate them easily.
These cute flowing ghosts are so inexpensive to make, and a fun project
for the kids! I love the result when the bottom of the ghost is left loose
— it looks even spoooookier:
These aren’t meant to all look alike, the differences are what make them
look more realistic. 😉
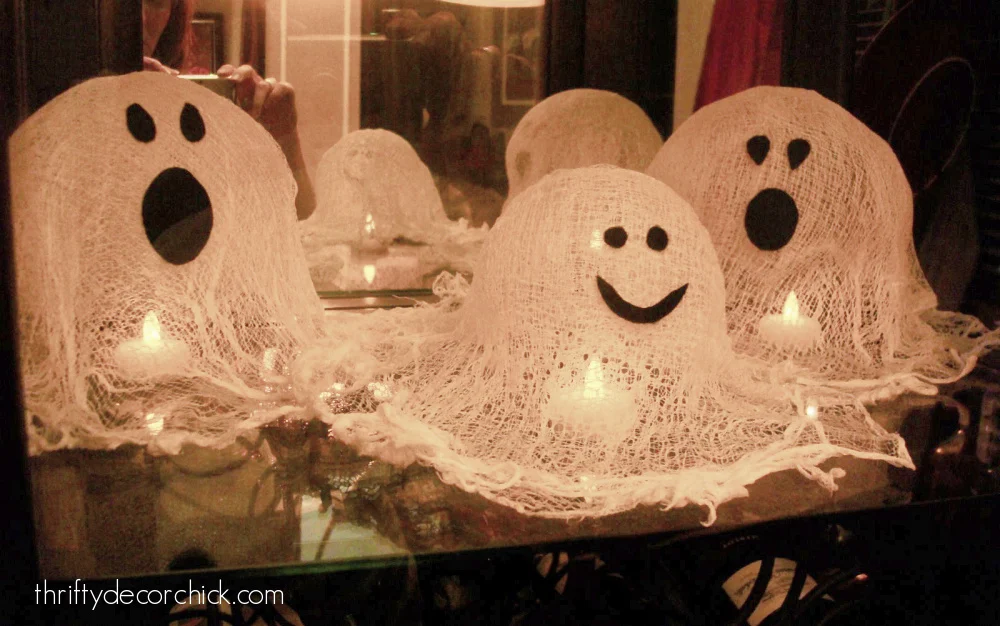
And of course they become even more haunting with an LED candle
underneath:
Too cute! These are so fun.
There are many different recipes out there but this is the easiest and it
worked great. I also thought it would be fun to mix them with glow-in-the-dark glue!
Here’s how these ghosts look when you make them with something smaller
like a balloon:
One item I can’t do without during the holidays are my little
flickering LED tea lights or votives. I love those in particular because you turn them on once and they stay
on for six hours.
No need to turn them on and off because the timer does it for you!
Have you tried this cute Halloween craft?
Hover over this image to pin this project for later:


